
Joinery is the discipline of connecting two pieces of wood so that the connection holds under load over time. The choice of joint determines how much glue surface area the connection has, how well it resists the specific forces a piece of furniture encounters, and how much skill and tooling its execution requires. At the beginner level, four joint types cover nearly every furniture construction scenario.
How Joints Fail — And Why It Matters
Understanding failure modes before choosing a joint is more useful than memorizing joint names. Wood joints fail through three mechanisms: shear (the boards sliding past each other along the glue line), tension (the boards pulling apart perpendicular to the glue line), and racking (the assembly rotating at the joint under a sideways load).
A butt joint resists shear reasonably well but provides almost no mechanical resistance to tension or racking — it relies entirely on glue and, in some cases, fasteners. A mortise-and-tenon joint resists all three failure modes mechanically, which is why it appears in furniture expected to carry significant load or remain in service for decades.
Butt Joint
A butt joint connects two pieces at their flat faces or edges with no interlocking geometry. End-grain to long-grain configurations (a shelf board meeting a side panel at 90 degrees, for example) have limited structural strength even with high-quality wood glue because end grain absorbs adhesive before it cures and leaves a glue-starved joint. Long-grain to long-grain butt joints — a face-glued panel, for instance — are strong and suitable for furniture tops and drawer sides.
Reinforcing the Butt Joint
For end-grain to long-grain connections, mechanical reinforcement is standard. Pocket screws drilled at an angle through one board and into the second are the most common approach in contemporary furniture construction. A pocket hole jig (Kreg is the most widely distributed brand in Canadian hardware retailers) establishes the angle automatically and produces consistent results with minimal layout. The joint still has limited racking resistance, making it unsuitable for chair construction or any assembly subject to repeated lateral load.
Dado Joint
A dado is a channel cut across the grain of a board, into which a second board's end is fitted. It appears most commonly in shelf construction — the dado cut into a bookcase side receives the shelf end, holding it against vertical load without relying on glue surface area alone.
Cutting a Dado by Hand
Mark the width of the dado using a marking gauge set to the actual thickness of the board that will sit in it — dimensional lumber is rarely the thickness its label claims. Score both walls with a marking knife and register a back saw against the knife line to cut each wall. Remove the waste with a chisel, working from both faces toward the centre to avoid tear-out at the edges. A router plane — a specialty hand tool with a blade set at a fixed depth below the sole — cleans the bottom of the dado to a consistent depth more reliably than a chisel alone.
Fit and Tolerance
A dado joint should fit with light hand pressure — not so tight that it requires mallet blows to seat, and not so loose that it rocks. A joint that is too tight will split the housing board when seasonal wood movement adds to the assembly stress. In Canadian homes where interior humidity drops significantly in winter, this is a recurring issue with tight fits in wide panels.
Mortise and Tenon
The mortise-and-tenon joint has appeared in documented furniture construction for at least 3,500 years. Its geometry is straightforward: a projecting tongue (tenon) fits into a rectangular recess (mortise) in the mating piece. The interlocking geometry provides resistance to all three failure modes — shear, tension, and racking — and glued versions of the joint are the standard structural connection in frame-and-panel furniture, chair construction, and table leg-to-apron connections.
Proportioning the Tenon
Traditional proportioning guides the tenon to occupy approximately one-third of the stock thickness. A 19 mm (3/4 inch) thick rail would carry a tenon approximately 6 mm thick, with the mortise walls each receiving one-third of the total thickness as supporting material on either side. Tenon length is typically between one-third and one-half the width of the mortised piece. These proportions balance glue surface area against the risk of splitting the mortised board.
Cutting the Mortise
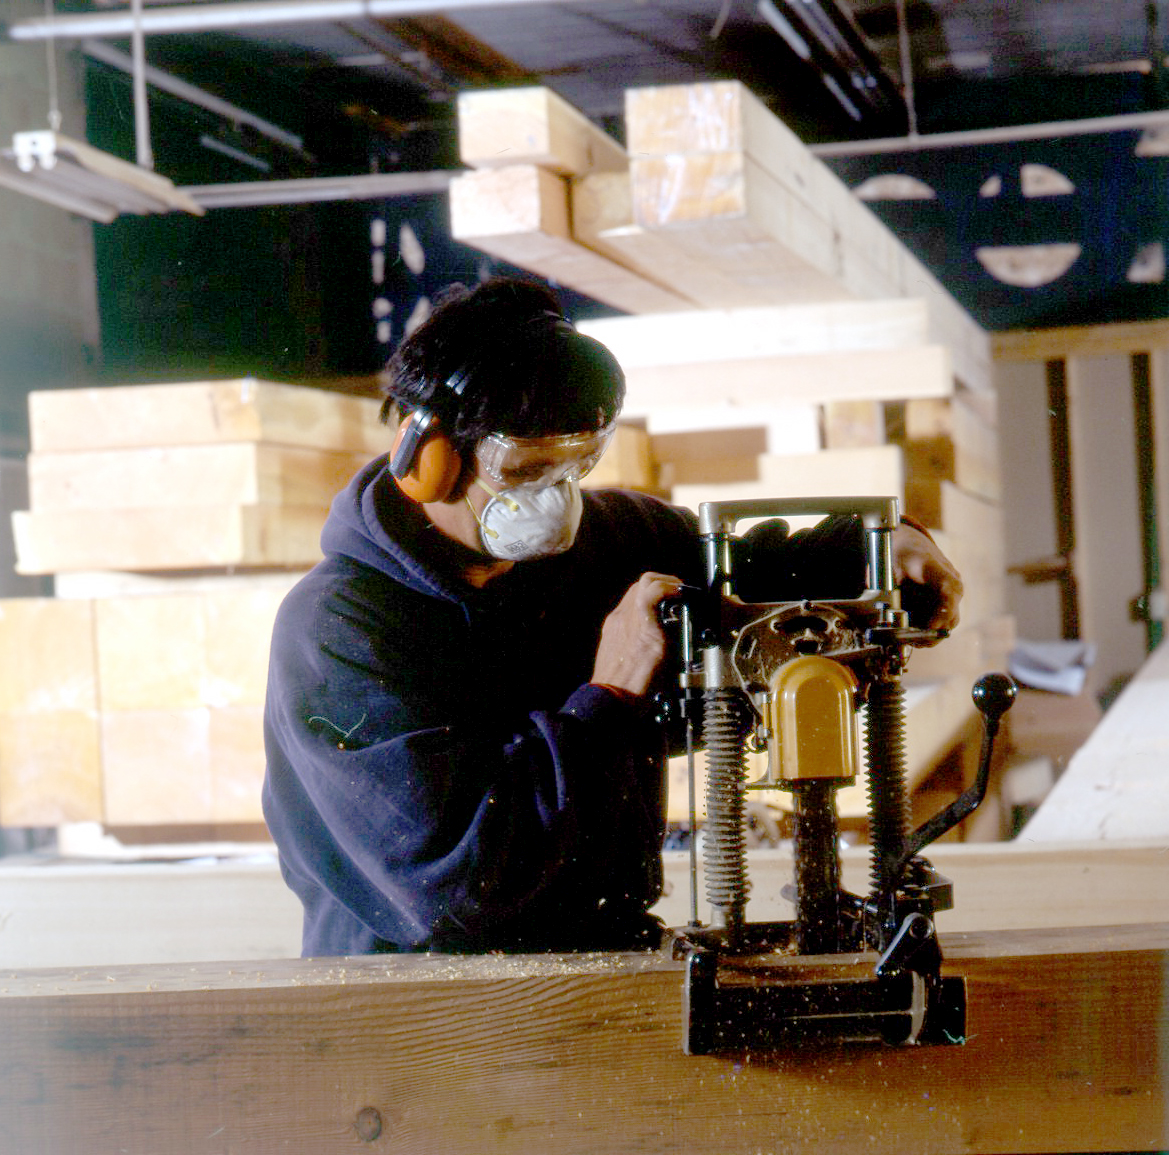
A mortise can be cut entirely by hand with a mortise chisel and mallet. Mark the mortise walls with a marking gauge set to the tenon width. Begin chopping at the centre of the mortise and work outward toward the layout lines in stages, alternating between chopping and levering out waste chips. Mortise chisels have substantially thicker blades than bench chisels — they are designed for this repeated mallet work and should not be substituted with bench chisels, which can flex and lose their edge geometry under heavy chopping.
Cutting the Tenon
A tenon is cut with a back saw — two rip cuts along the cheeks (the wide faces) and two crosscut shoulder cuts. The shoulder cuts establish the visible face of the joint and should be cut against a knife line for a clean fit. The most common error in hand-cut tenons is the cheek cut drifting off square — a shooting board and a sharp bench plane can correct a slightly off-square cheek.
A well-cut mortise-and-tenon joint should fit with the same hand pressure as a well-tuned dado — snug enough to stay put when held vertically, loose enough to disassemble without tools during a dry-fit check before gluing.
Dowel Joint
Dowel joints use cylindrical wooden pegs inserted into aligned holes in two mating pieces. They provide more glue surface area than a plain butt joint and some resistance to racking through the mechanical pin action of the dowels. They are commonly used in face-frame construction, edge-glued panel alignment, and in production furniture where the drilling can be done with jigs.
Alignment
The primary challenge with dowel joints is drilling the holes precisely aligned so the dowels fit without stressing the joint out of square. Self-centering dowel jigs — available from Lee Valley and Veritas — guide the drill bit to a consistent position relative to the board edge and handle the alignment problem mechanically. Without a jig, centre punch marks and careful drilling freehand are required, and small misalignments compound across multiple dowels in a single joint.
Spiral-grooved or fluted dowels allow excess glue to escape during assembly; smooth dowels can hydraulically lock the joint before it seats fully if insufficient glue clearance exists. For furniture where appearance matters, diameter and length should match the stock thickness — a common guideline is dowels no longer than 40 mm in softwoods and no longer than 30 mm in hardwoods where the risk of splitting the end of the board is higher.
Choosing a Joint for the Project
A simple shelf unit can be built entirely with dado joints and a face-frame assembled with pocket screws. A side table with aprons and legs requires mortise-and-tenon joints at the leg-apron connections if it is expected to last more than a few years under regular use. A small box or drawer can be built with butt joints reinforced by nails or screws if appearance at the joint line is hidden by assembly.
The Tools Guide covers the specific hand tools required to cut each of these joints by hand. The Wood Selection article describes how species choice interacts with joint fit — harder species hold crisp joint walls better, but softer species allow for small adjustments with a sharp chisel without risk of the grain fracturing unpredictably.
For detailed reference on joint geometry and proportioning, the technical notes published by the Popular Woodworking editorial archive and the Fine Woodworking reference library are established sources widely used by Canadian hobbyists at the intermediate level.